
Getting Started Tutorial: Creating Newforma Konekt Issues in Revit
Newforma Konekt for Revit allows you to raise and resolve issues directly in Revit. In this tutorial, you’ll learn how to create issues to communicate design changes to other project members.
Before you begin this tutorial, we invite you register for our Issue Overview live training session.
What you’ll need
- A Newforma Konekt account (see Create an Account).
- Access to a hub and a project.
- Newforma Konekt add-in for Revit installed.
- Shared coordinates (see Set up Revit Shared Coordinates).
Step 1 – Open Newforma Konekt from Revit
To open Newforma Konekt, follow these steps:
- In Revit, open the desired model.
- In the ribbon, click Newforma Konekt tab > Open Newforma Konekt.
- In the Newforma Konekt panel, click Sign In, then from the browser tab that opens, enter your credentials and click Sign In.
- Back in Revit, select a hub and a project.
Step 2 – Identify design issues or changes
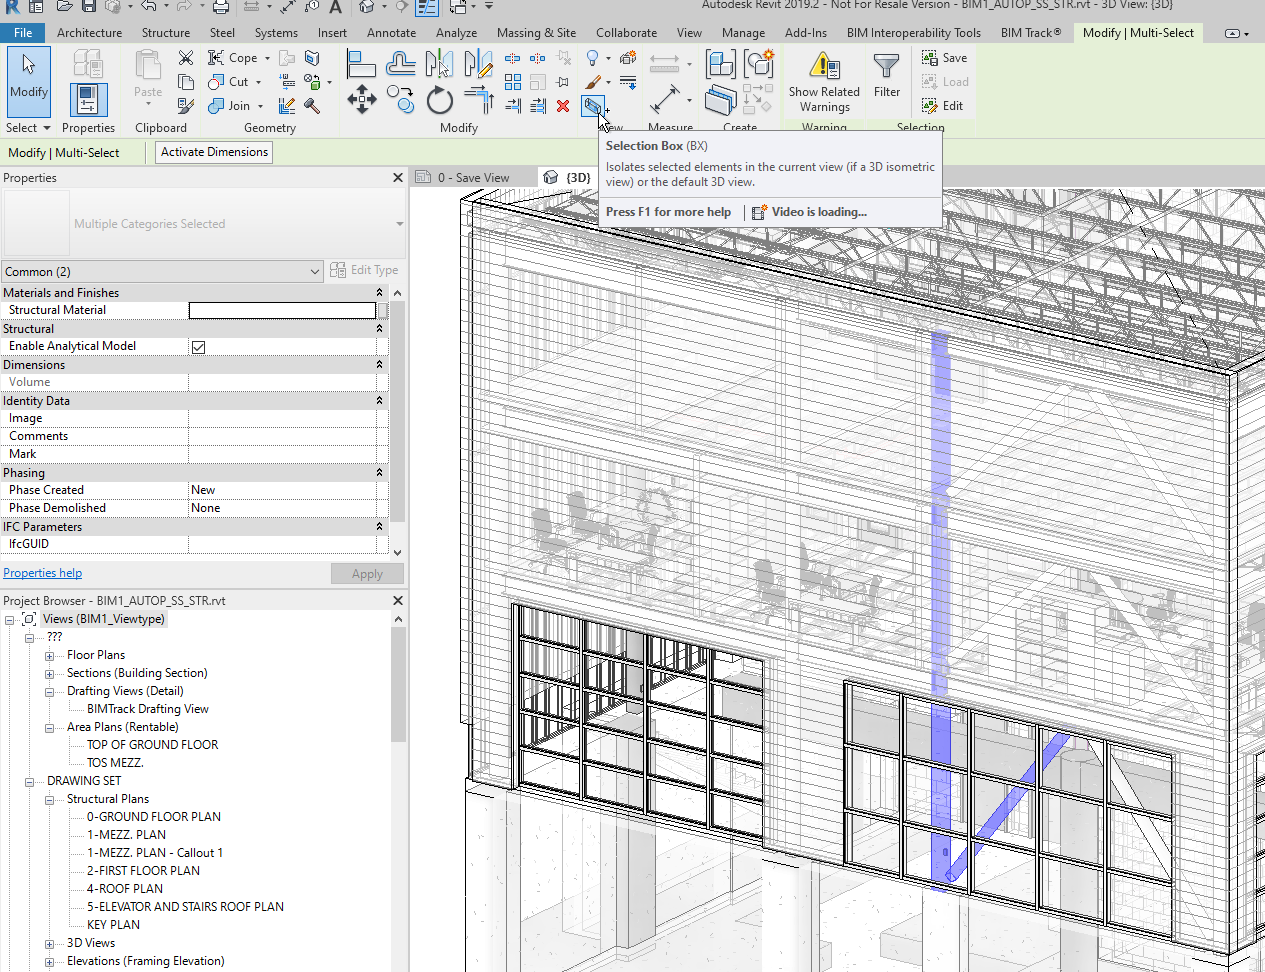
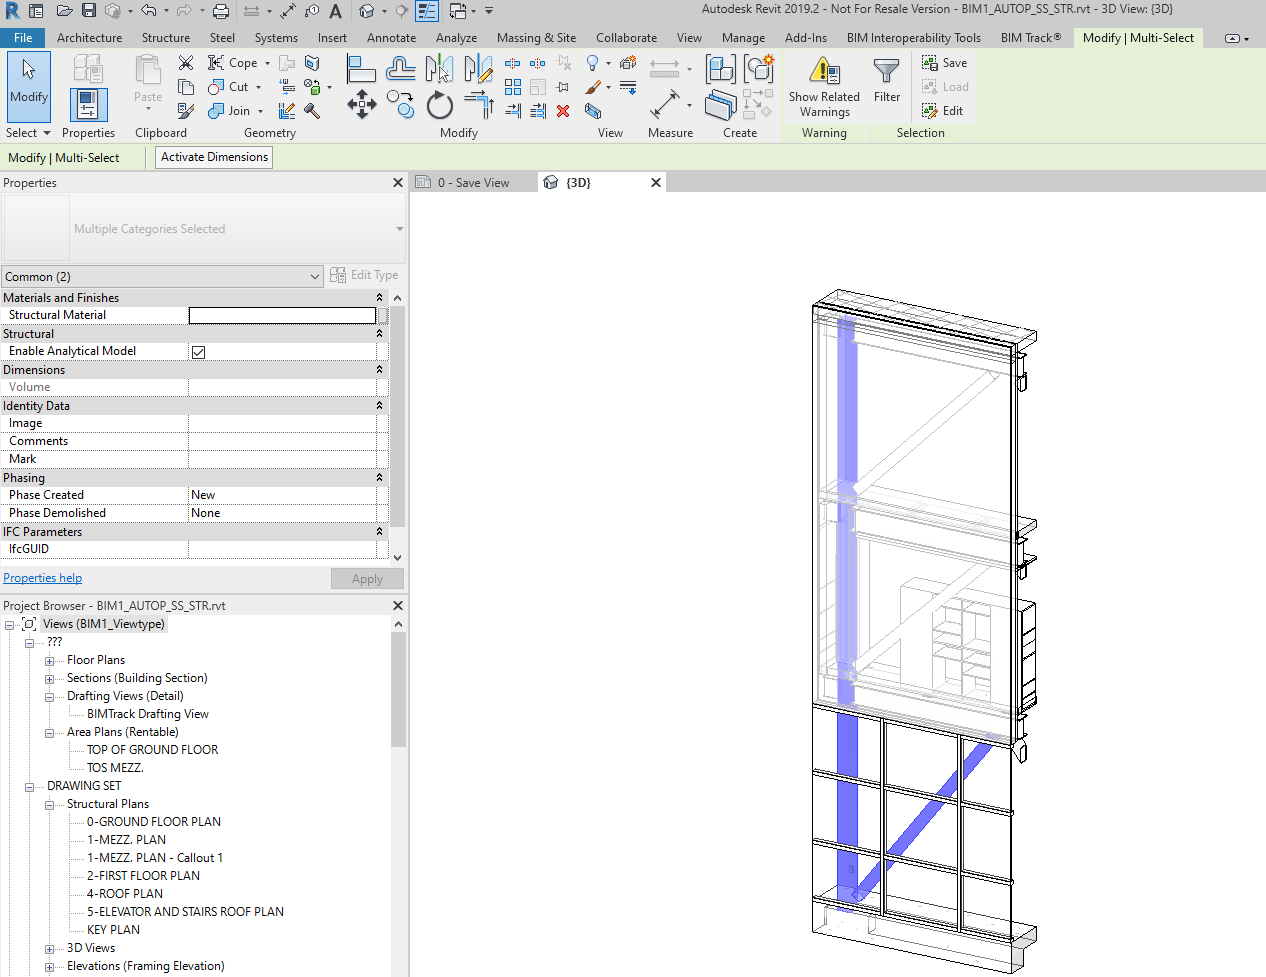
Choose the best view to clearly display design issues or changes in the model. To make it easier to locate a problem in a 3D view, you can select the problematic elements and use the Selection Box tool to isolate them.
Step 3 – Create issues
You can create issues using one of the following methods.
- Localize Issue allows to create an issue from a specific location in your 3D models and 2D sheets (see Localize an Issue – Add-ins).
- Create Issue allows to create an issue from a camera position or from a selection of elements in a 3D view (see Create an Issue – Add-ins).
- Views to Issues allows to turn saved viewpoints into issues (see Views to Issues).
Congratulations! You now know how to create issues in Revit. To learn how to retrieve and edit issues, see Managing Newforma Konekt Issues in Revit.
See also
- Watch our webinar Issue tracking directly in Navisworks & Revit.
- Read our blog post From confusion to collaboration: My journey through the evolution of BIM coordination.