Navigations and Controls
Once in the 3D environment we need to familiarize ourselves with the more frequently used navigation tools. Along the top of the environment are the navigation buttons.
With Orbit selected your mouse has the following control:
- Both the left and right button when held down allow for the ‘orbit’ action.
- When pressed and held, the scroll wheel of the mouse allows us to pan.
- Zooming in and out is controlled by the mouse scroll wheel.
With Pan selected your mouse has the following control:
- The left button when held down allow you to pan around.
- The right button allows you to orbit.
- When pressed and held, the scroll wheel of the mouse allows us to pan.
- Zooming in and out is controlled by the mouse scroll wheel.
The Look command follows the same methodology of Orbit and Pan. When it’s time to navigate through the interior of our building we highly recommend setting the mouse control to Look and using either the direction arrows or the W-A-S-D keys to move forward, left, right, and backwards while looking for issues with the mouse.
You will also need to have the camera set to Perspective to navigate inside a building.
One very important thing to remember when creating issues in the viewer is that Revit modelers can only work in 3D when the view is set to orthographic. So, let’s look at how we’d convert an issue we discover inside a building in perspective mode and use some new tools to change it to orthographic.
ESC button – ESCAPE key will cancel any active selection or command.
F11 key to activate the full screen mode
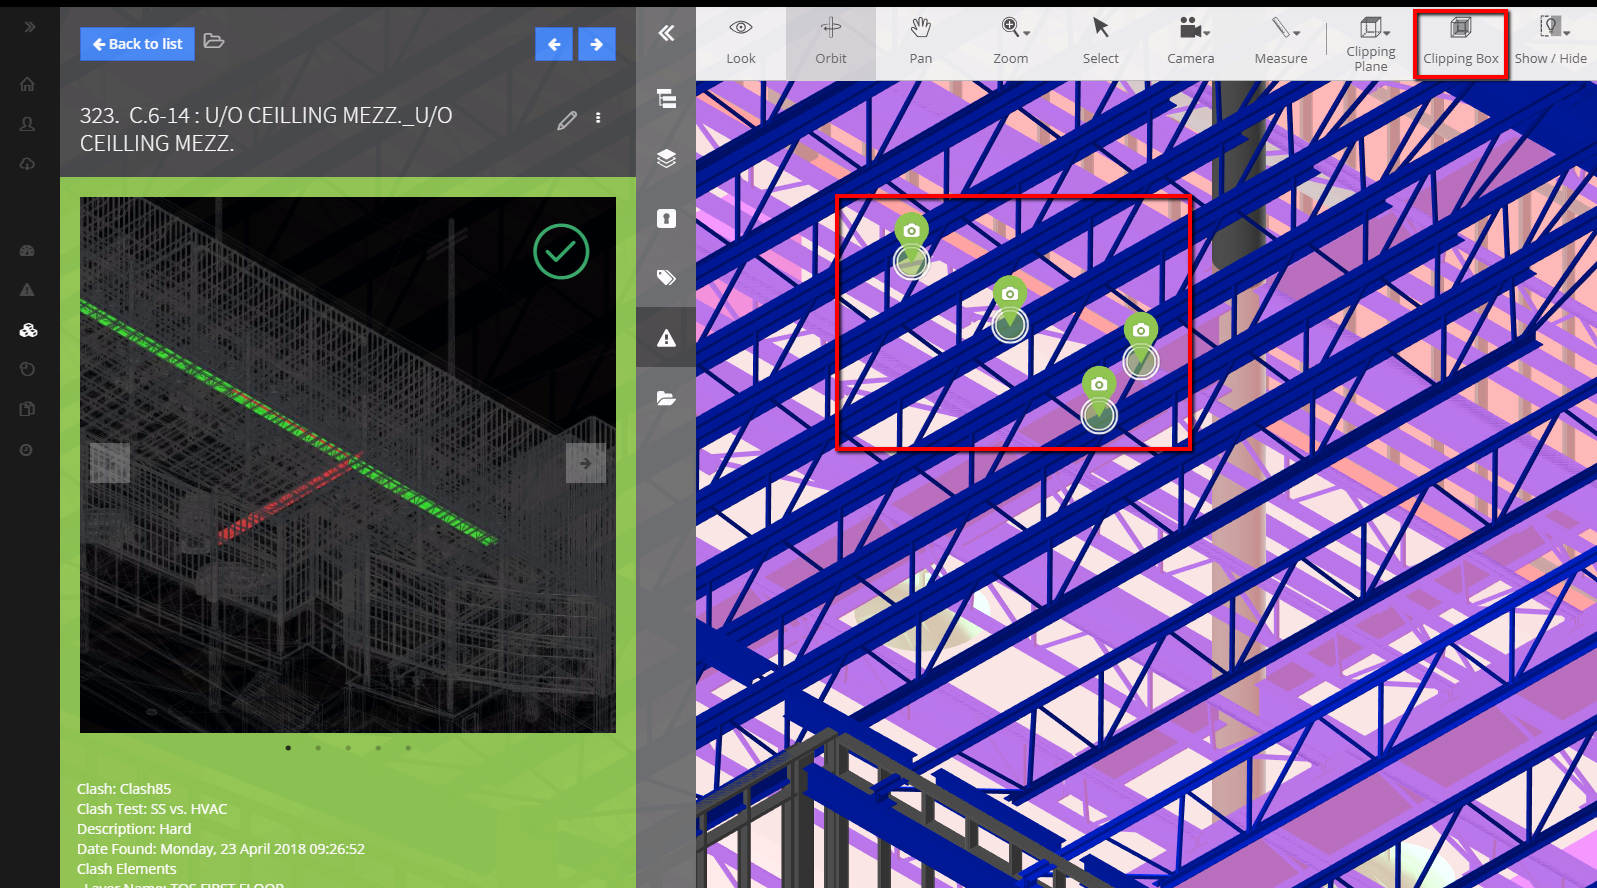
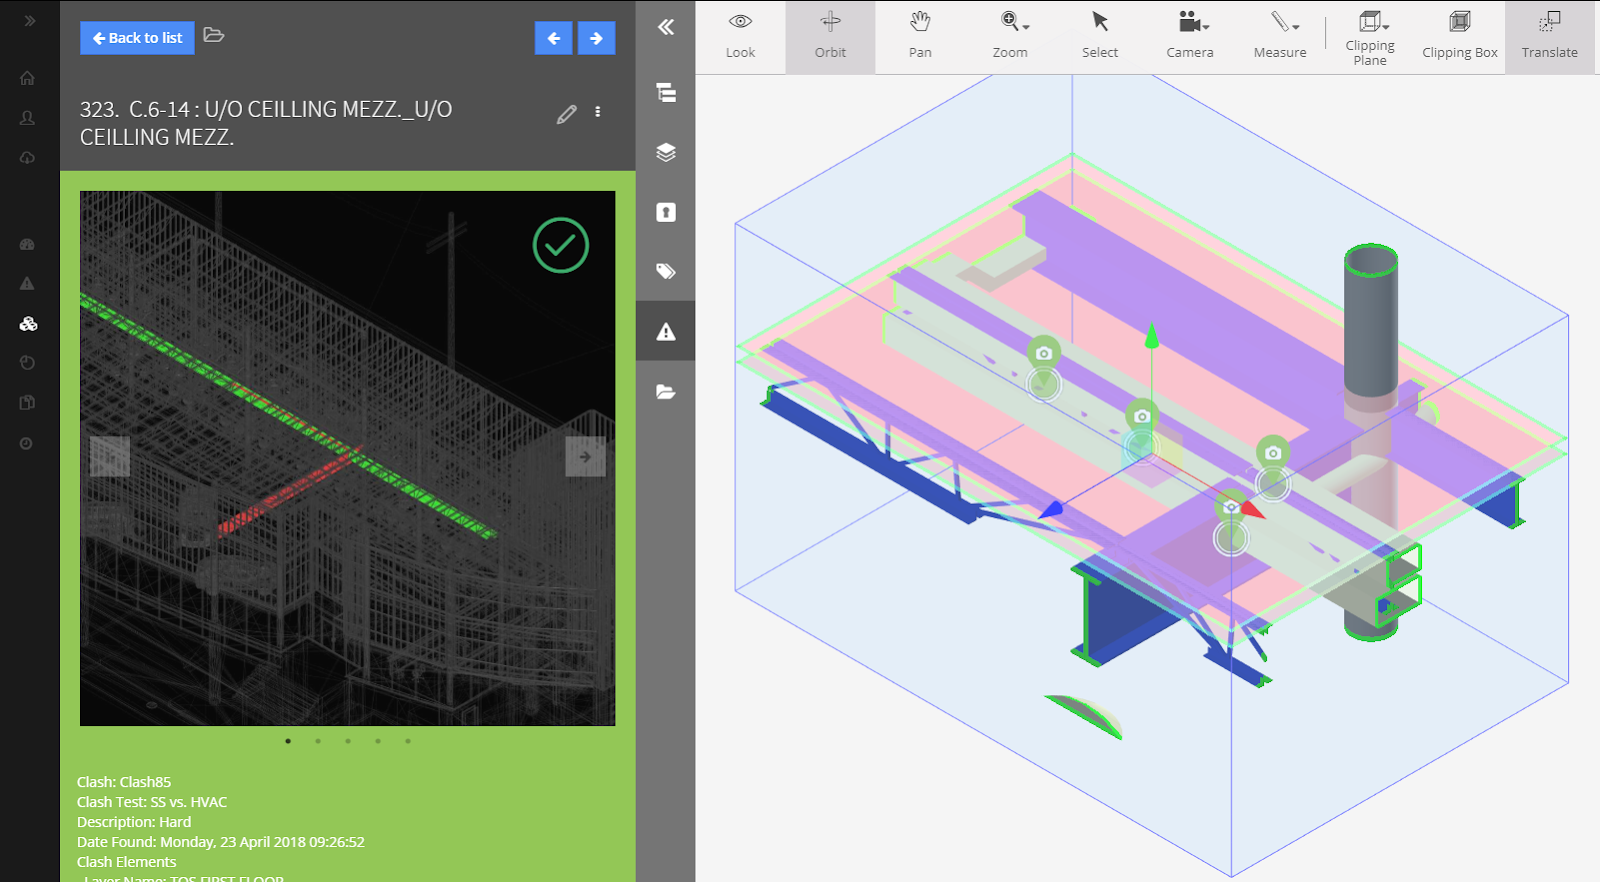
Multi pinpoints/element selection – Hold the Ctrl key on the keyboard to select multiple objects in the viewer. When showing the clash pinpoints of an issue hold the Ctrl key, select the clash spheres, and enable a Clipping box.

Your project will be narrowed down to the extents of those clash pinpoints

