
Configure Viewer Settings – NextGen Viewer
4 minutes
11 months ago
This article describes the different options that you can configure in the Newforma Konekt Viewer.
To access the Viewer settings in Newforma Konekt, follow the steps below:
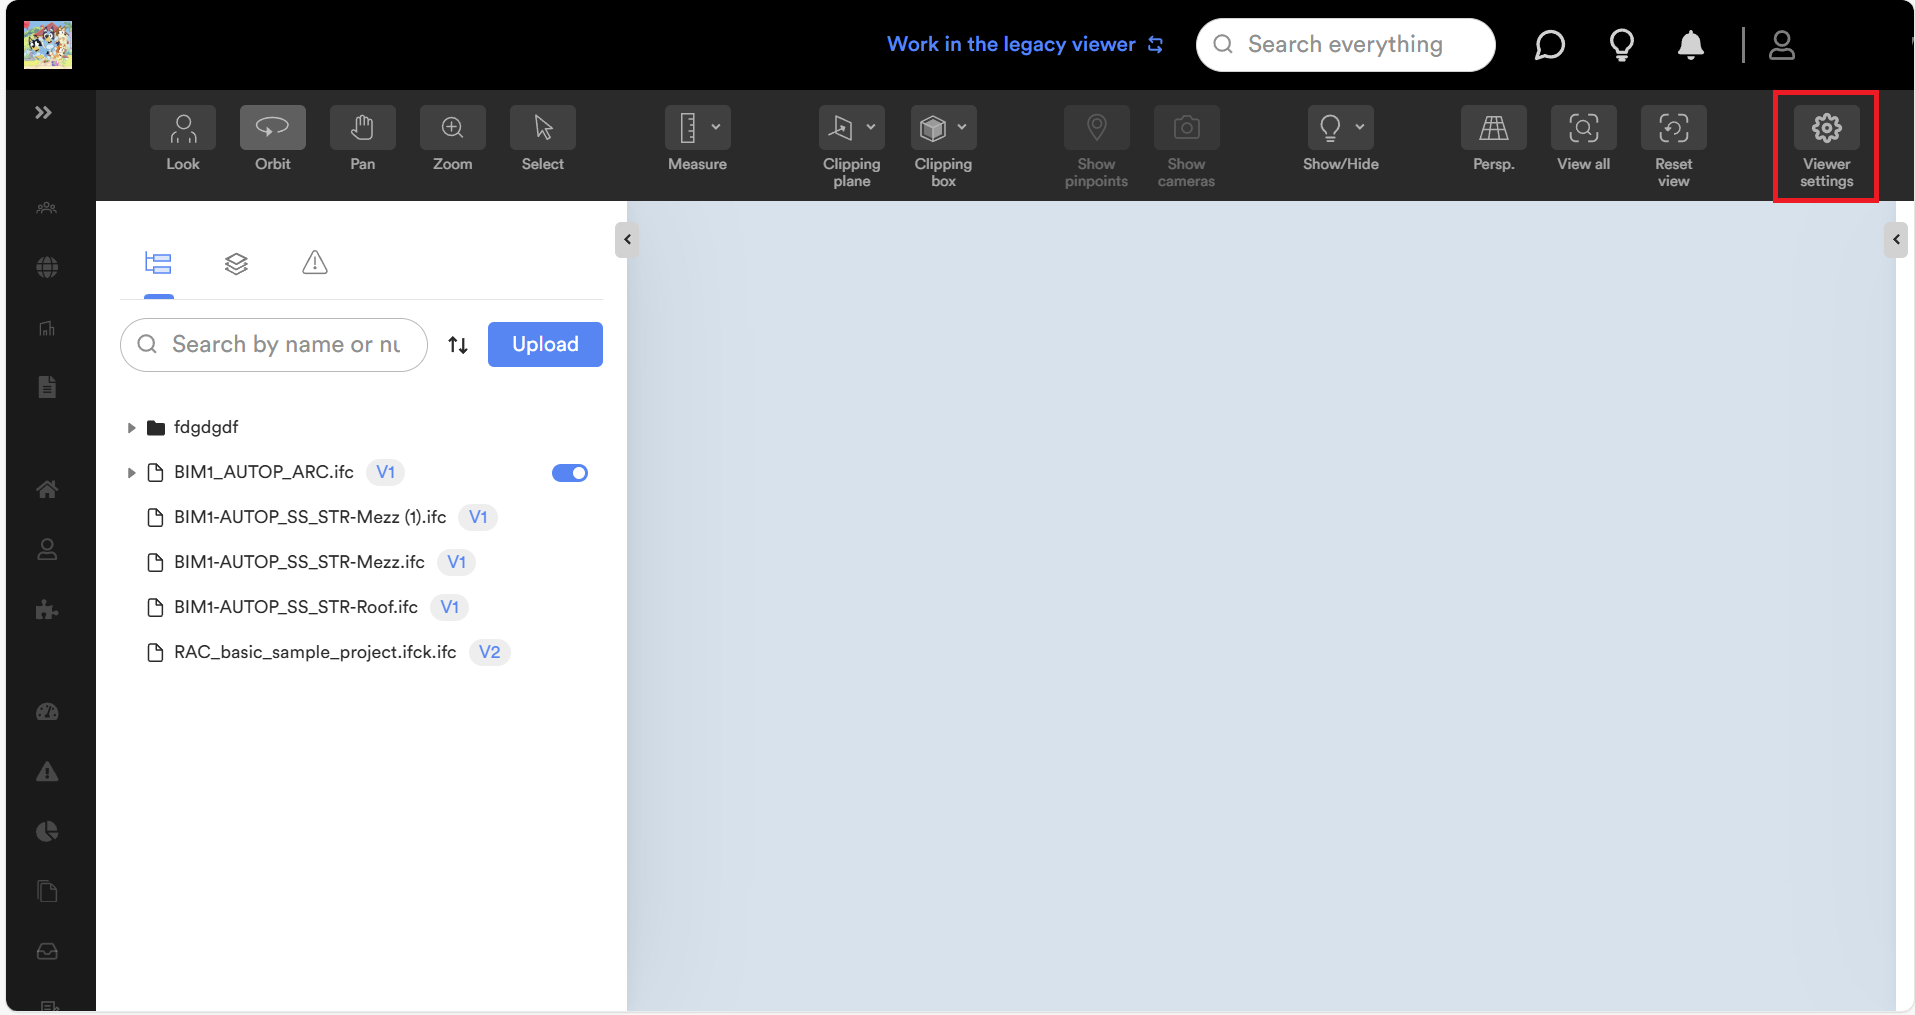
- Click on Viewer in the Project menu at the left of the Newforma Konekt window to open the Viewer activity center.
- Click on Viewer settings at the top right of the Viewer activity center. The Settings page opens.
General settings
To configure the settings in the General tab of the Settings page, follow the steps below:
- Click on the General tab in the Settings menu. Note that General is the default tab and may already be selected.
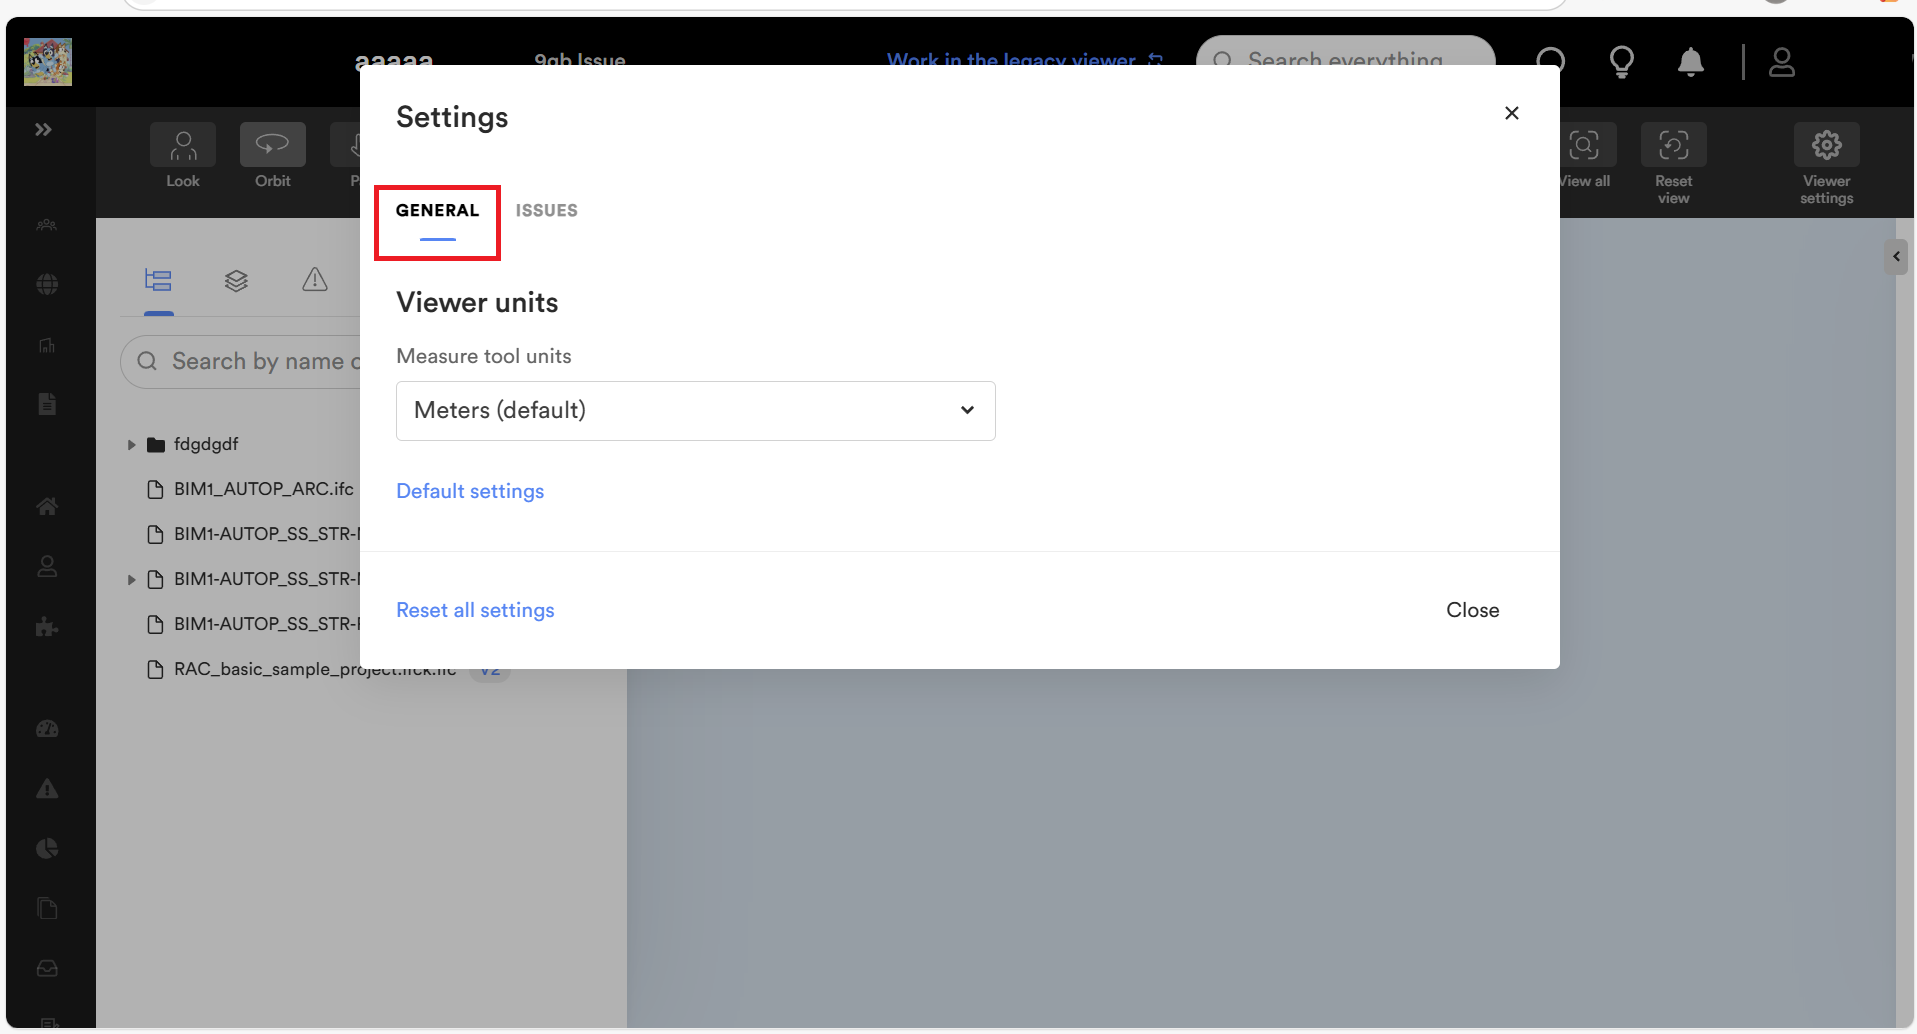
- Click on the Measure tool units dropdown menu top open the dropdown menu. The Meters (default) menu item is the default.
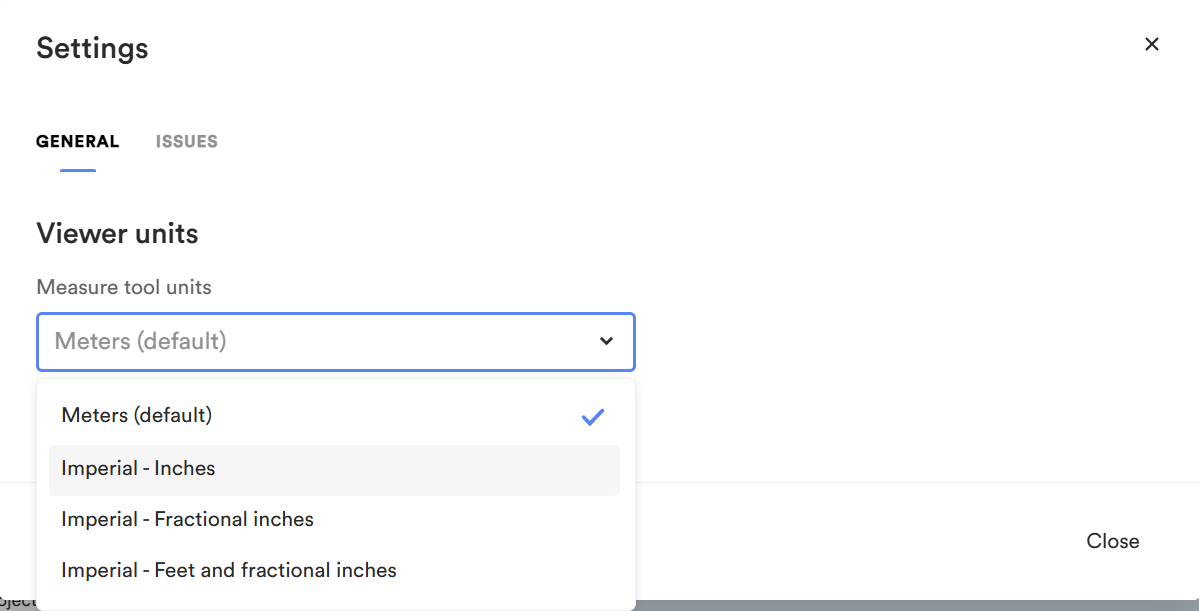
- Select the desired measurement unit from the Measure tool units dropdown menu:
- Meters (default): Click on Meters (default) to see the measurements in meters with up to 3 decimal points and rounded to the nearest thousandth. (For example, 3.232 m).
- Imperial (Inches): Click on Imperial (Inches) to see the measurements in inches with up to 3 decimal points and rounded to the nearest thousandth. (For example, 127.244 inches).
- Imperial (Fractional inches): Click on Imperial (Fractional inches) to see the measurements in factional inches with accuracy up to 1/16 of an inch and rounded to the nearest 1/16 of an inch. (For example. 127 1/4 inches).
- Imperial (Feet and fractional inches): Click on Imperial (Feet and fractional inches) to see the measurements in feet and factional inches with accuracy up to 1/16 of an inch and rounded to the nearest 1/16 of an inch. (For example. 10 feet 7 1/4 inches).
- Click on Default settings to set the Measure tool units measurement back to the default (Meters (default)) setting, as needed.
- Click on Reset all settings to reset all the settings in the General and Issues tabs, as needed.
Additional measurement unit information
The table below contains additional information about the measurement units:
| Measurement display | Measurement unit customization |
| Measurements in the Viewer | You can change the Viewer measurement units in the General settings tab, as needed. |
| Coordinates in the Viewpoint information | You can change the display of the coordinates’ measurement units in the General settings tab, as needed. |
| Viewpoints in the Viewpoint screenshot | You CANNOT change measurements included in a Viewpoint screenshot. Make sure to take Viewpoints with the most accessible measurement unit according to your organization, for future use. |
Important note: The measurement units are a User level setting. Users must set their measurement units themselves; project owners/admins cannot set measurement units for all project users
Issues settings
To configure the settings in the Issues tab of the Settings page, follow the steps below:
- Click on the Issues tab in the Settings menu.

- Select the desired 3D element visibility item. See the table below for more information.
- Toggle the Force clipping box around related elements to on, as needed. See the table below for more information.
- Click on Default settings to set the Issues back to the default settings, as needed.
- The 3D element visibility is reset to Restore viewpoint element visibility.
- The Force clipping box around related elements toggle is in the off position.
- Click on Reset all settings to reset all the settings in the General and Issues tabs, as needed.
Additional Issues settings information
The table below contains additional information about the settings in the Issues tab:
| Setting | Description |
| 3D element visibility | Select one of the following options. – Keep current state – Conserves the current state. – Restore viewpoint element visibility – Hides elements that have been hidden and shows elements that have been selected during issue creation. – Isolate selected elements – Isolates related elements of an issue. Commonly used when retrieving issues that were created from the Clashes to Issues command with the Clash Detective. – Show all elements – Shows all elements associated with the model discipline. |
| Force clipping box around related elements | Places a clipping box around related elements. The clipping box will always automatically be turned on when retrieving issues with related elements. |