
Create and Manage Saved Views
The Saved views tab in the Viewer activity center allows you to capture and return to specific model or sheet configurations. A saved view preserves how a model or sheet is displayed at a given moment, including camera position, visibility settings, or zoom level.
Saved views are available to other users with access to the viewer. You can create, update, rename, or delete saved views.
From the Saved views tab, you can also create folders to better organize your saved views.
You can create and manage saved views and create folders if you have an Editor role or higher. If you have a Reader role, you can only view saved views and folders created by other users.
Saved Views
Create a Saved View
To create a saved view:
- Adjust the view as needed:
- For 3D models: set the camera position and visibility (levels, disciplines, categories, or elements).
- For PDF sheets: adjust the zoom level and visible area.
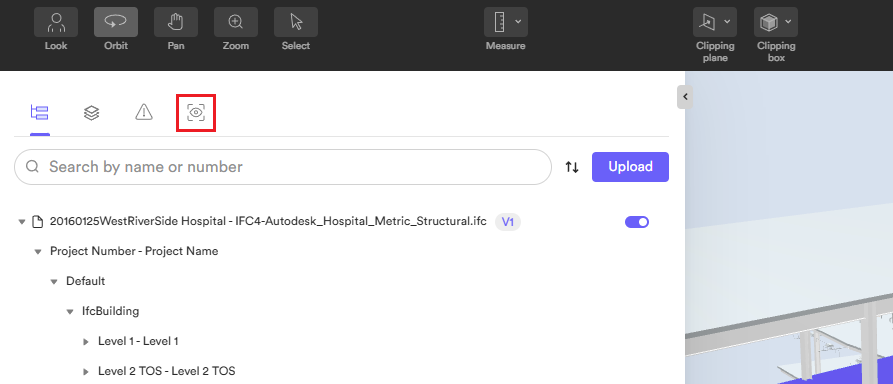
- Open the Saved views tab.
- Click the Create view button.
- Enter a name for the view.
The saved view is added to the list and can be accessed at any time by you and other users.
Return to a Saved View
To return to a saved view:
- Open the Saved views tab.
- Select a saved view from the list.
The model or sheet in the viewer updates to match the saved configuration.
Rename a Saved View
To rename a saved view:
- Open the Saved views tab.
- Click (…) More options next to the view.
- Select Rename.
- Enter a new name.
The view’s name is updated.
Delete a Saved View
To delete a saved view in the NextGen viewer:
- Open the Saved views tab.
- Click (…) More options next to the view.
- Select Delete.
The view is removed from the list.
To delete multiple views at once, select them and click the Delete icon above the list.
Folders
Create a Folder
To create a folder to organize your saved views:
- Open the Saved views tab.
- Click the Create folder button.
- Enter a name for the folder.
The folder appears in the list. To add a saved view to it, select the folder first, then create a saved view from within it.
Only one level of folders is currently supported.
Move a Saved View to a Folder
To move a saved view to a folder:
- Open the Saved views tab.
- Click (…) More options next to the view.
- Select Move to.
- Select the folder.
The saved view is moved to the selected folder.
To move a saved view from one folder to another, or back to the main list, follow steps 2–3 and select the desired destination.
To move multiple views at once, select them and click the Move to icon above the list.
Rename a Folder
To rename a folder:
- Open the Saved views tab.
- Click (…) More options next to the folder.
- Select Rename.
- Enter a name for the folder.
The folder’s name is updated.
Delete a Folder
To delete a folder:
- Open the Saved views tab.
- Click (…) More options next to the folder.
- Select Delete.
The folder and all views within are deleted from the list.
To delete multiple folders at once, select them and click the Delete icon above the list.