Clipping Tools
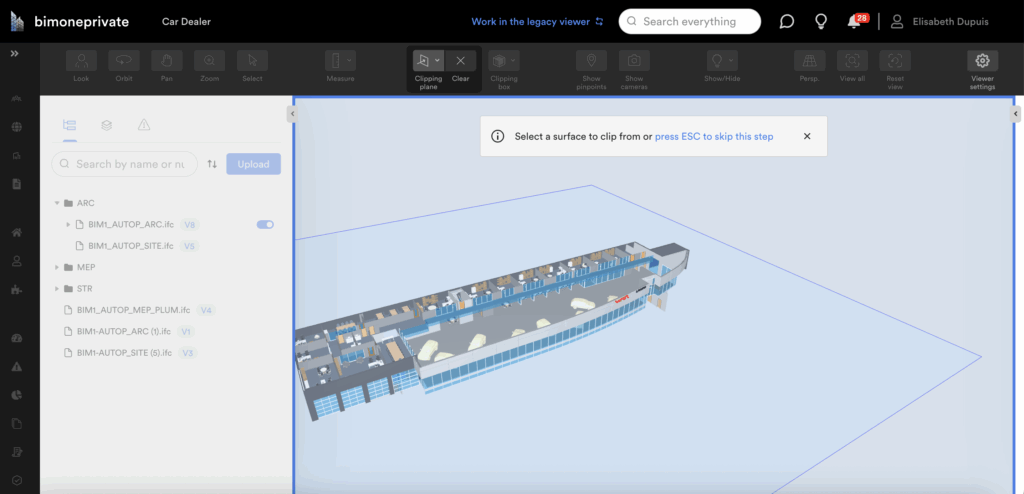
Clipping plane
A clipping plane can be placed on any “face” of a project (front/back/left/right/top/bottom), as well as on a selected face of any element. Once placed, the clipping plane can then be moved in any direction, rotated, or completely hidden (using the Translate command)

A clipping plane is useful when coordinating with users who work in Navisworks.
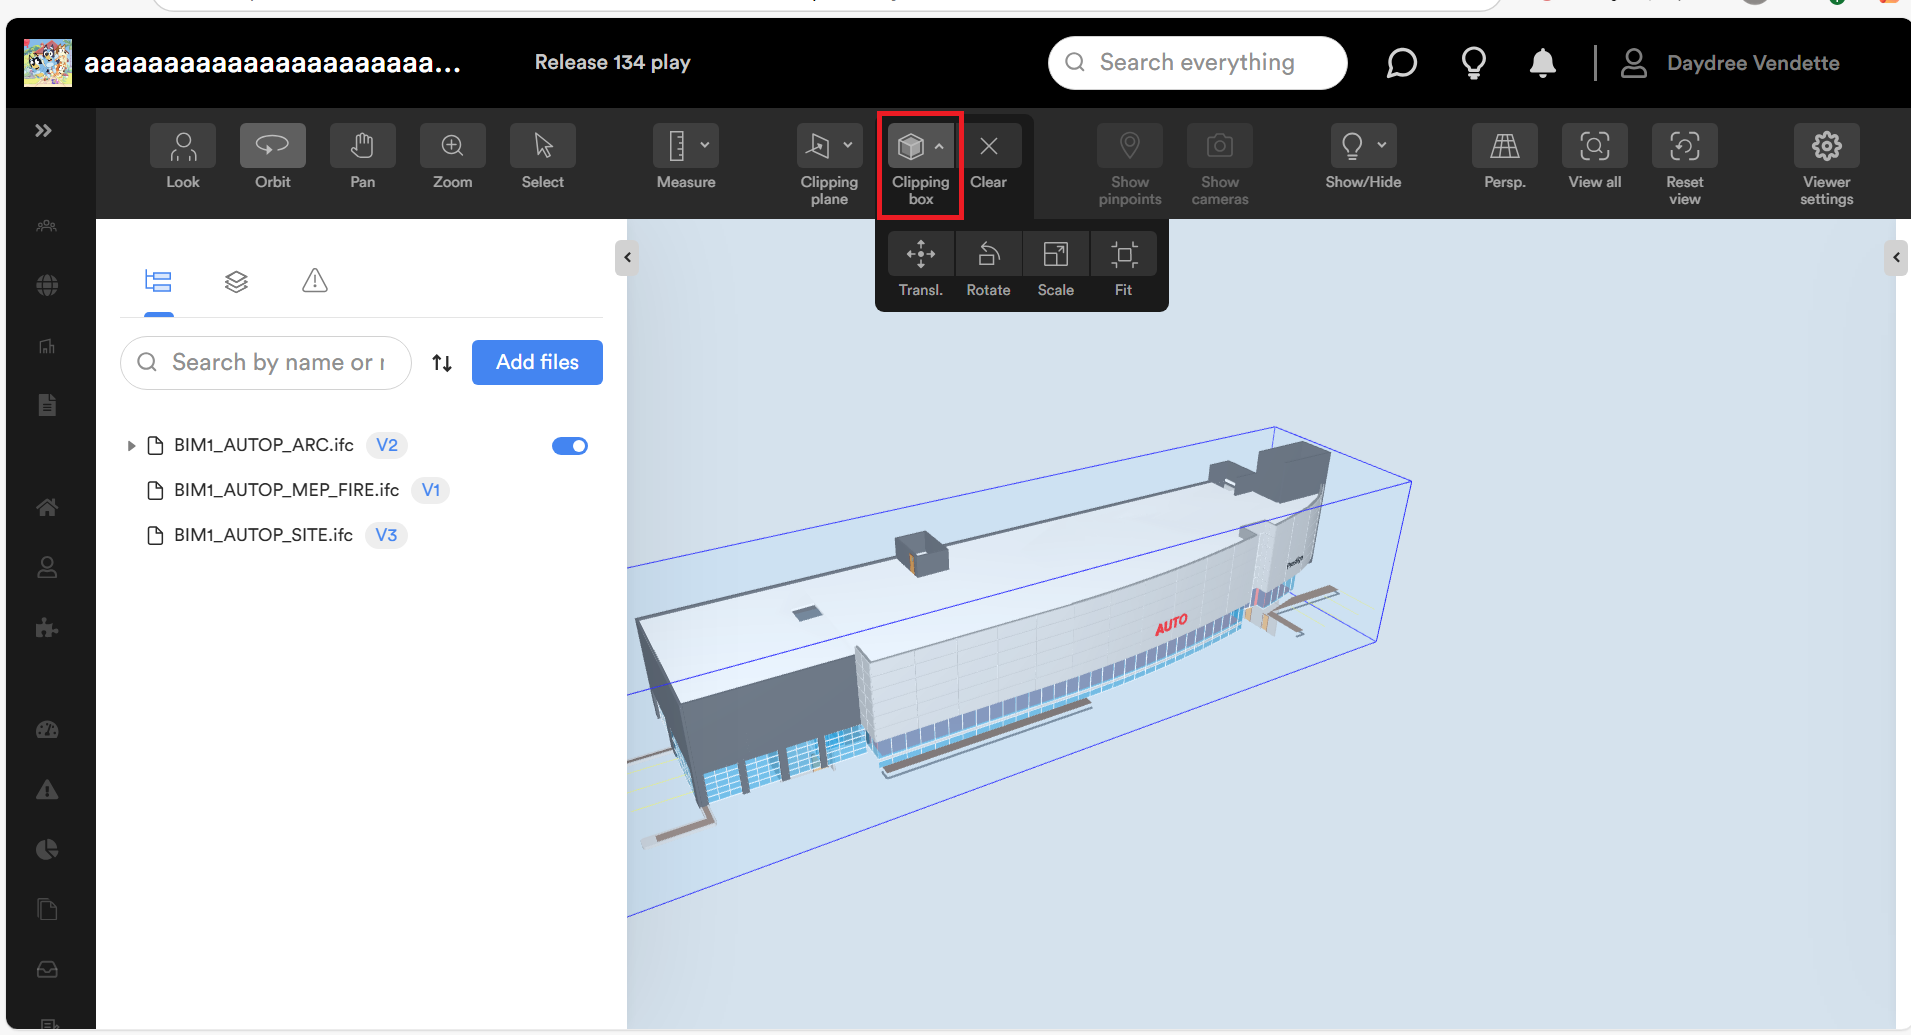
Clipping box
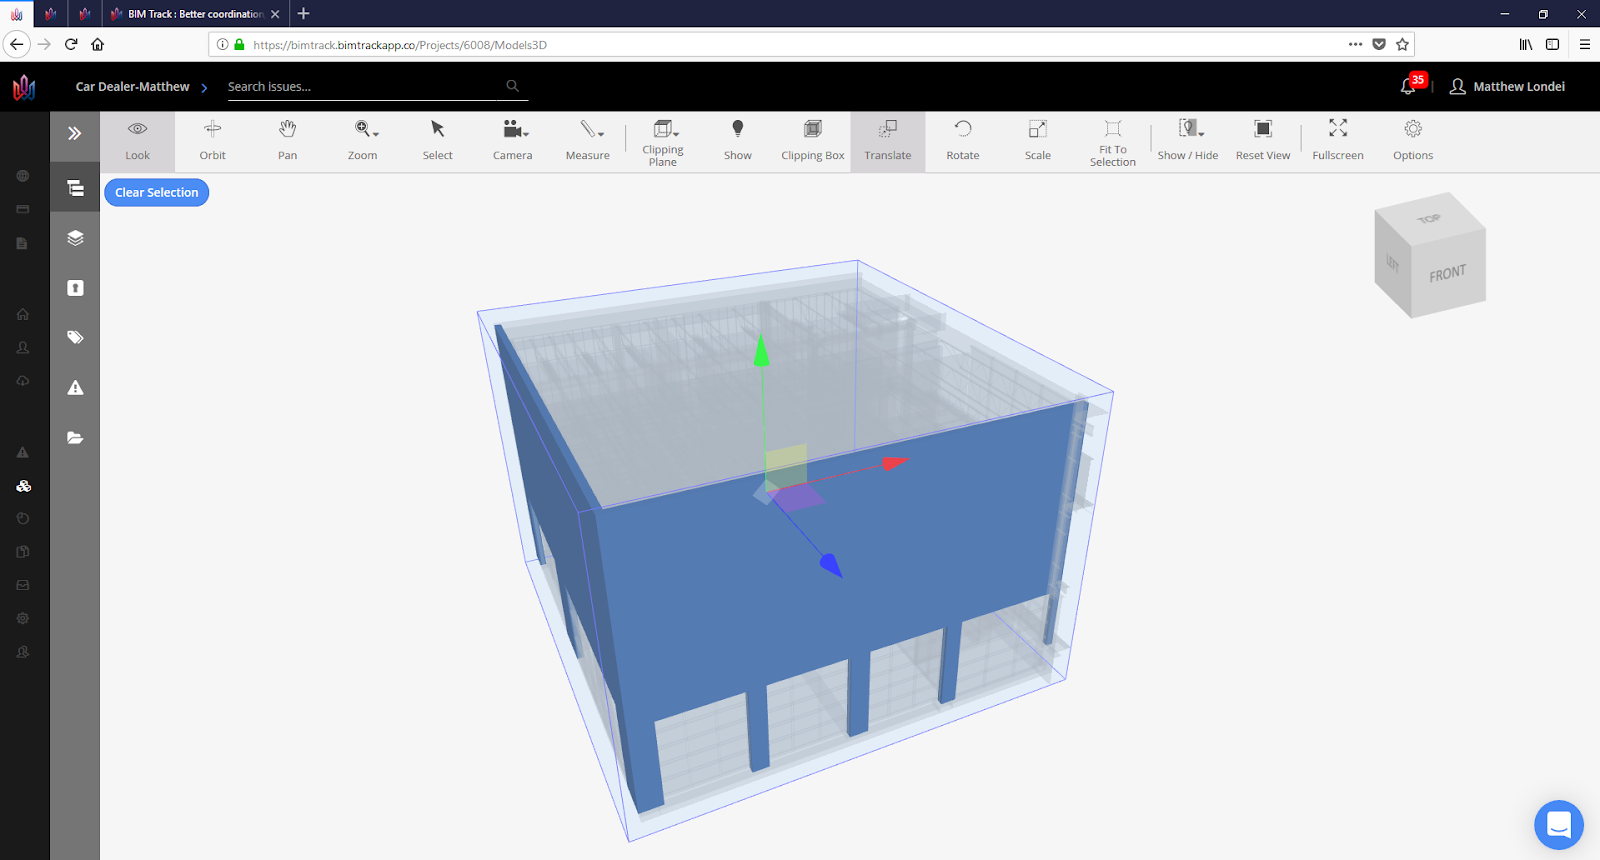
A clipping box is useful when restricting an entire model to a specified group of elements. For example, if we select the two walls indicated below and activate the clipping box, it will be restricted to just those two elements.


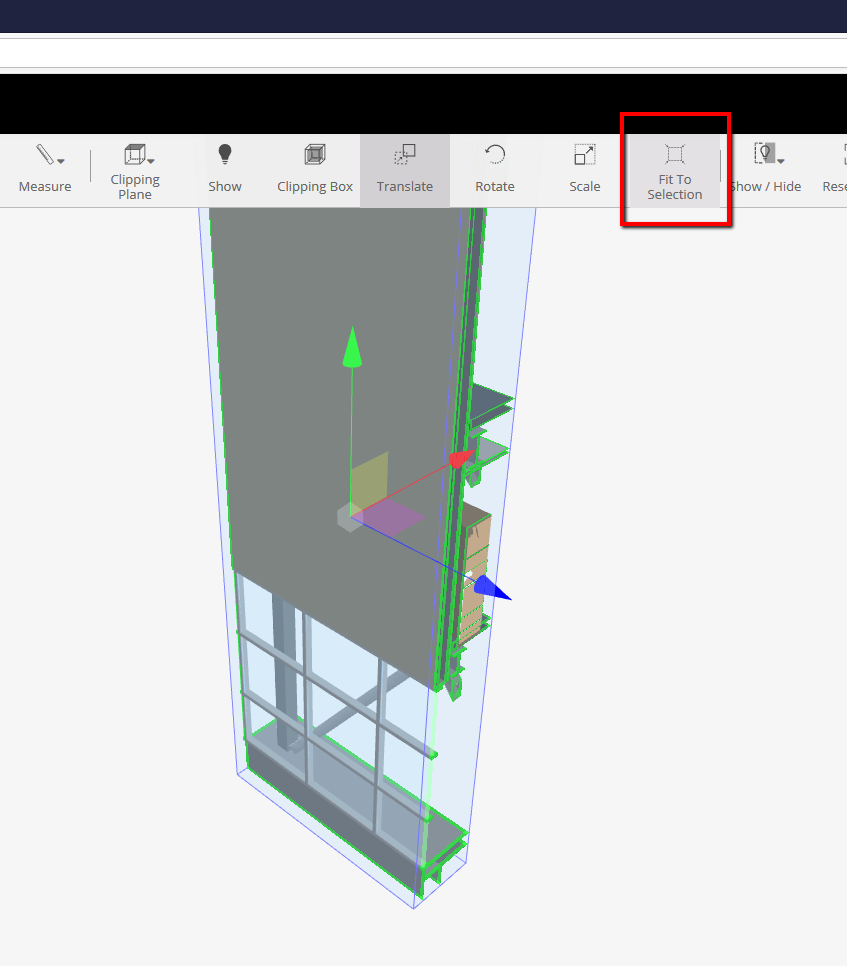
From here you can move the entire box, rotate it, or select exposed elements and use the Fit to Selection command to automatically resize the clipping box to the newly selected element.

- ESC button – ESCAPE key will cancel any active selection or command.
- F11 key to activate the full screen mode.
- Multi pinpoints/element selection – Hold the Ctrl key on the keyboard to select multiple objects in the viewer. When showing the clash pinpoints of an issue hold the Ctrl key, select the clash spheres, and enable a Clipping box.
For more information, watch this video.
