
Teams and Users
Introduction
Teams are used to help control notifying a large number of users, restricting a team to specific statuses, or allowing complete teams access to project issues.
Select the Teams and Users page in the PROJECT MENU to create your required teams, assign the project users to the appropriate teams and add new users to a project.
The Teams and Users page is divided into 2 tabs:
- Users
- Teams
Users: View a project’s users
Follow the steps below to view the available information in the Users tab:
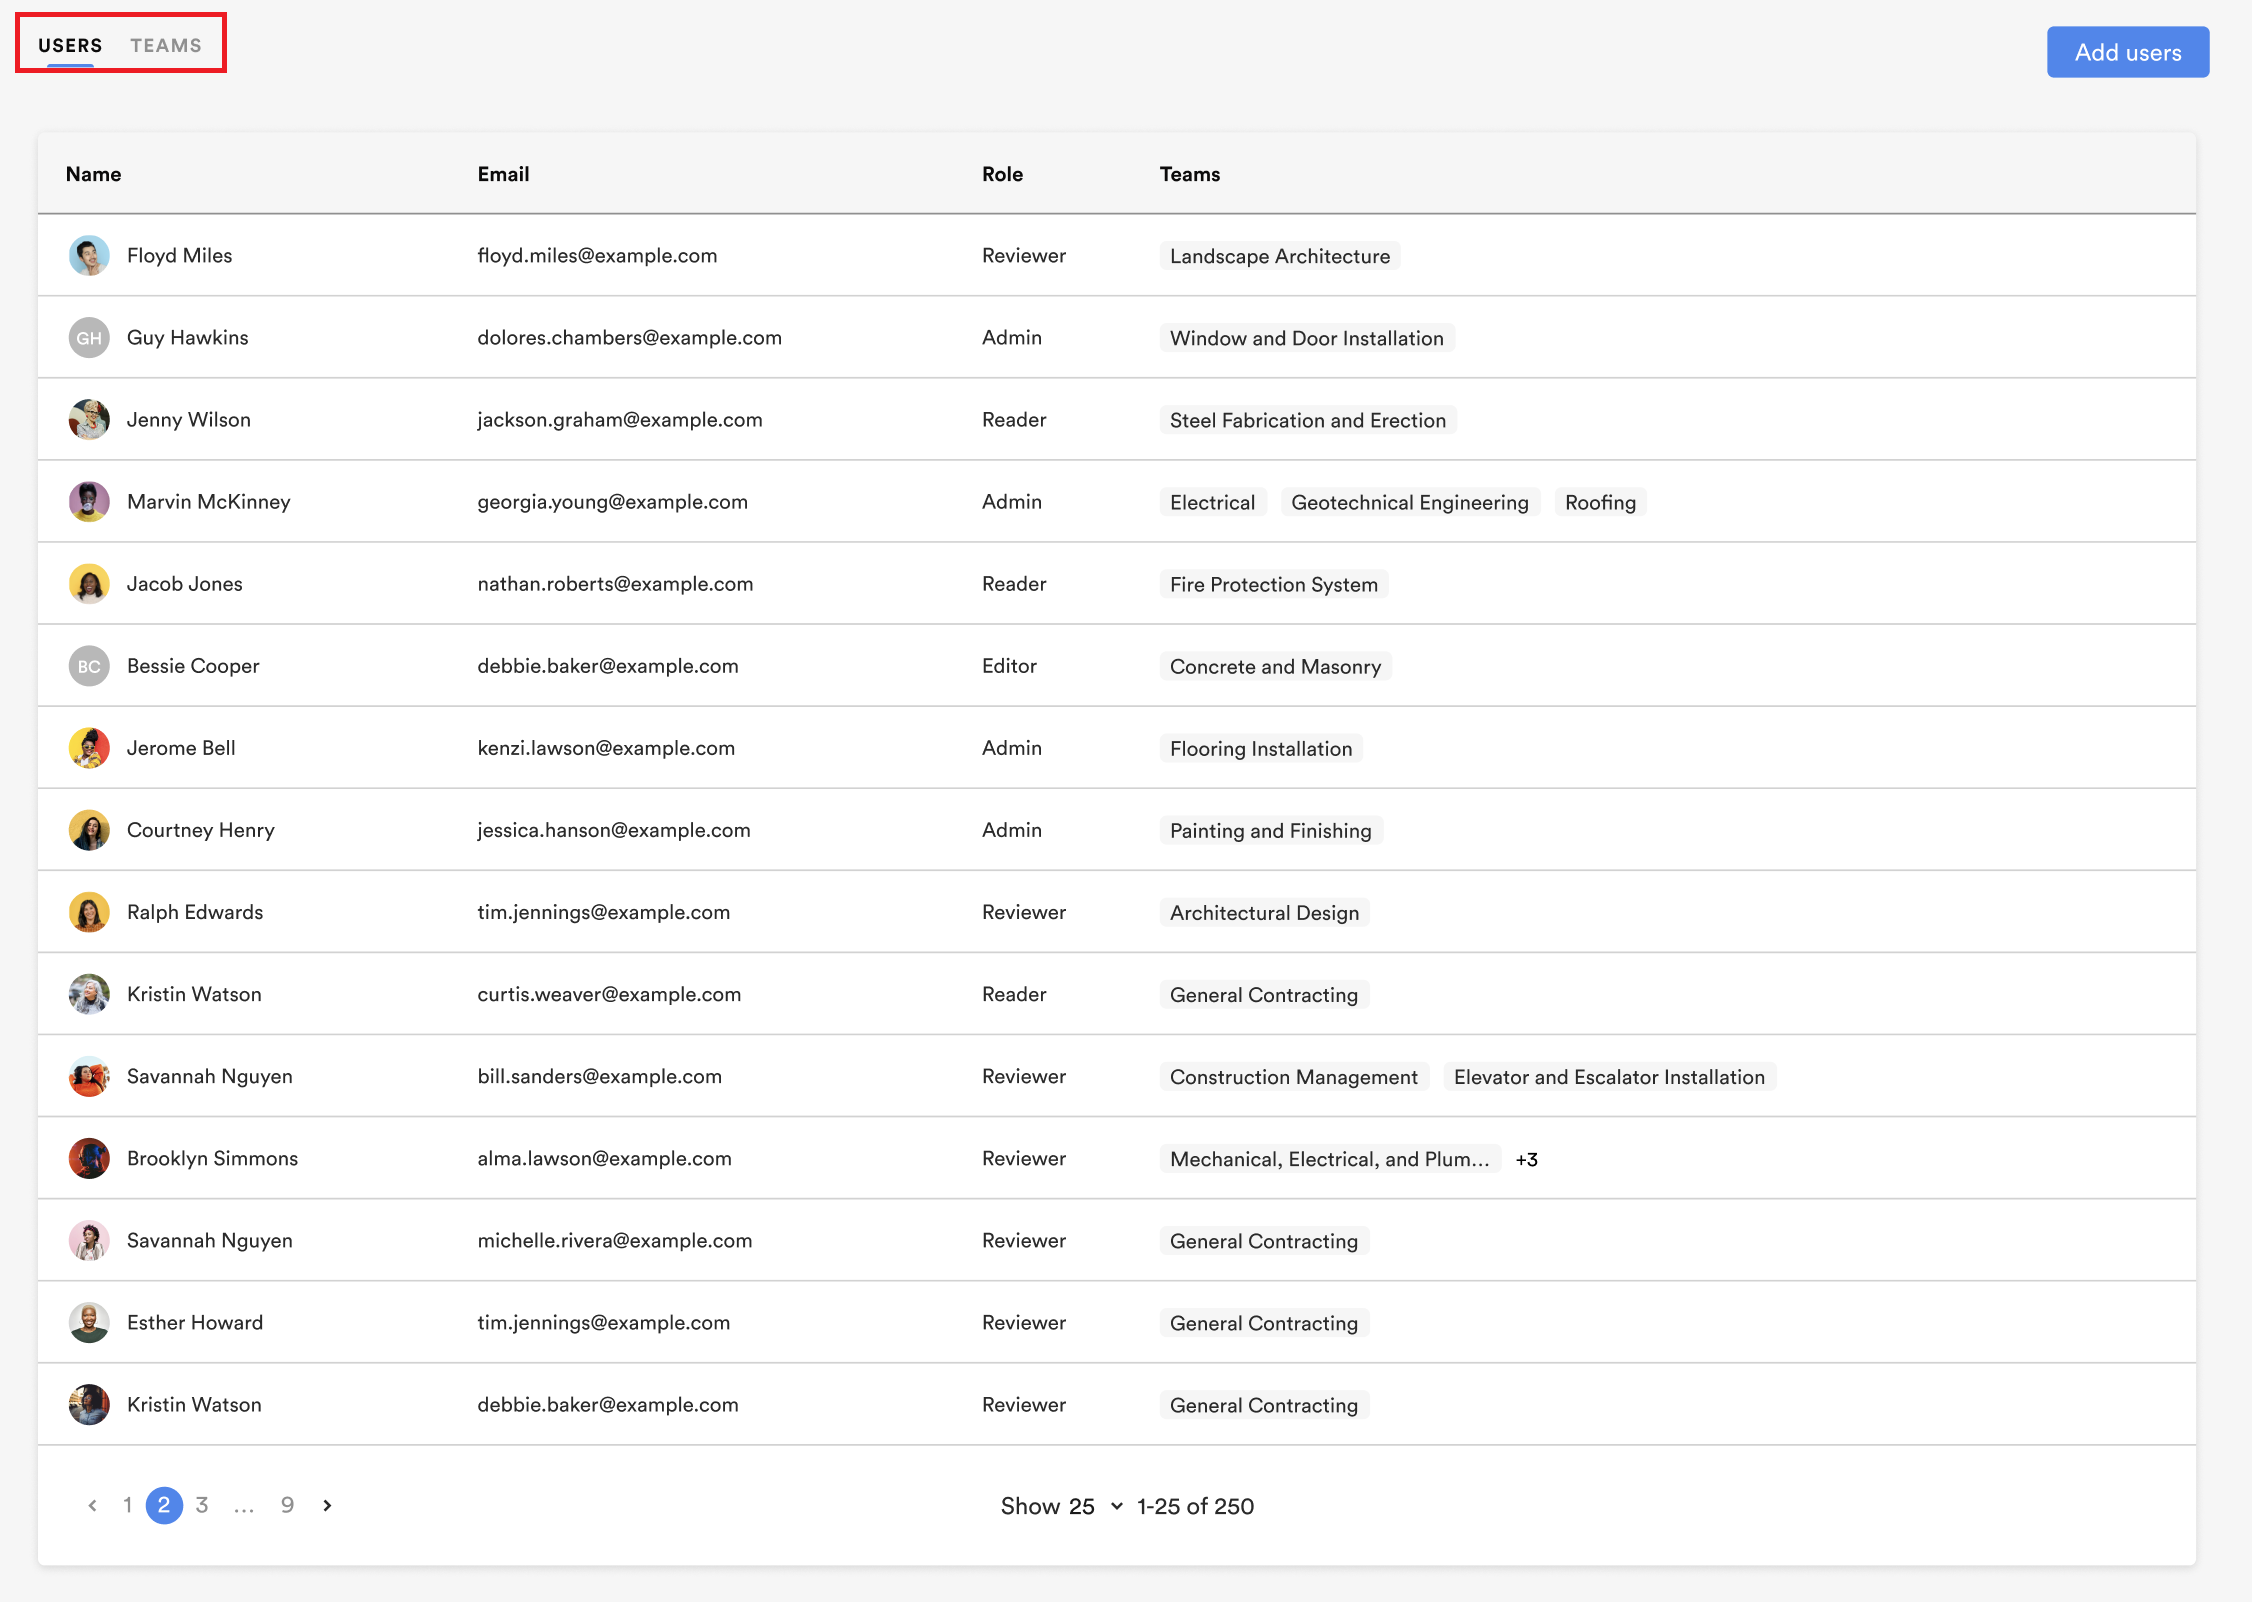
- Click on the USERS tab at the top of the Teams and Users page to view the list of users of a project
- Notice the following information displayed for each project user:
- Name
- Role (Project)
- Teams (Assigned)
- Sort a project\’s user list by name or email by clicking on the column\’s title.
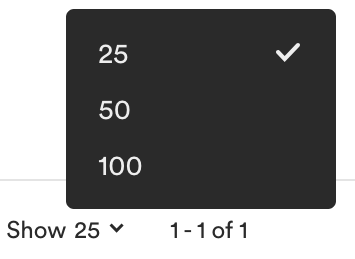
- Control the number of users displayed per page, and navigate from one page to the next by clicking on your desired selection at the bottom of the USERS tab.
Users: Add users to a project
You can add users to a project in the two following ways:
- Manually
- By uploading a CSV file
Add users to a project manually
Follow the steps below to add users to a project manually:
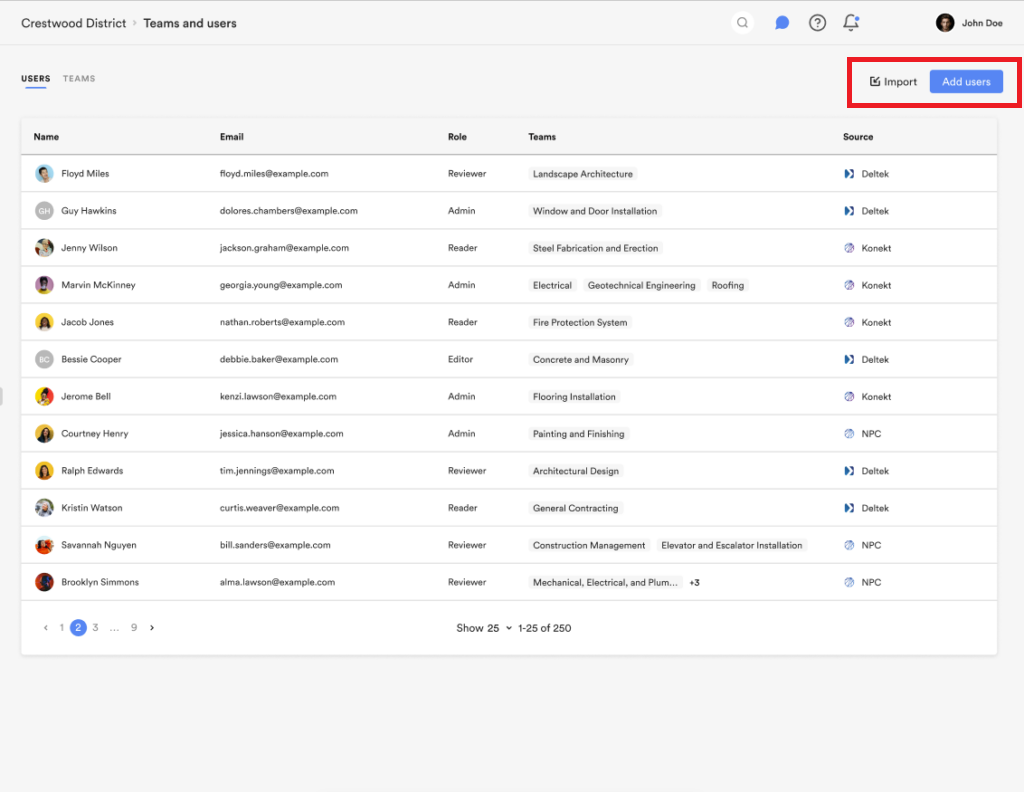
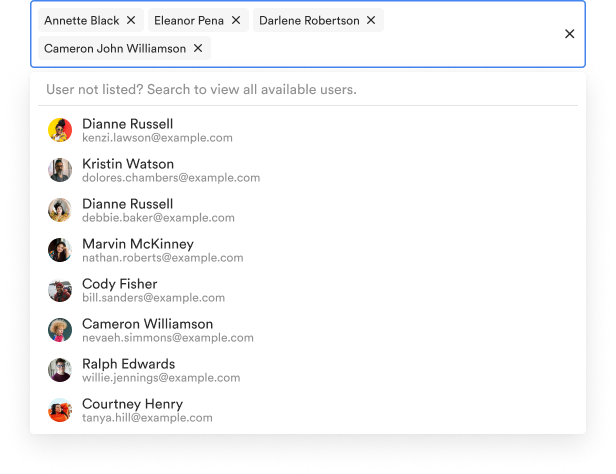
- Click on the Add users button at the top right of the USERS tab. The Add users page opens.

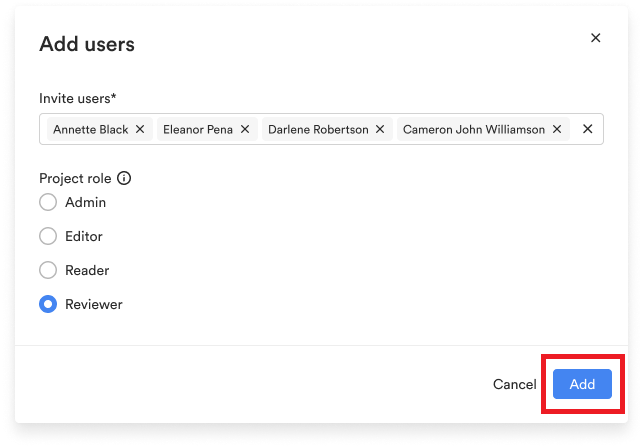
- Add users to the project by searching and selecting users in the dropdown under Invite users*.
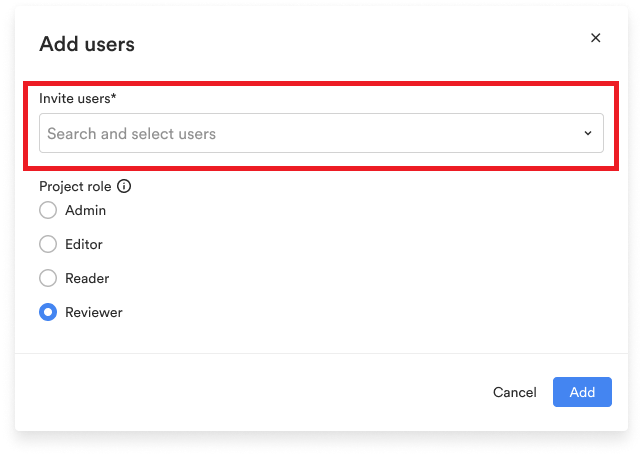
- Assign a project role to users added to the project. The Reviewer role will be selected by default. For more information on project roles, please refer to this article.
- Click on the Add button at the bottom right of the window to finalize the addition of users to the project.
Add users to a project by uploading a CSV file
It is now possible to bulk import users to your Newforma Konekt projects with a CSV file in the project’s Teams and users page. This will allow you to add users to your projects without requiring an integration from your other user management software to Newforma Konekt.
Note:
- A maximum import of 100 users at a time is supported through a single CSV file. You can upload additional users on another CSV file once the previous import is complete.
- Only Hub admins can import users using the CSV file at this time.
The types of users that can be uploaded using a CSV file are:
- Existing hub users.
- Users that are not in the hub yet. Note that these users will be created and added to the hub (as hub guests) when finalizing the import.
Click on the link below to download an optional CSV file template for the user import:
Excel files are not supported for the user import. See this article for more information on converting Excel files to CSV files.
The following fields can be imported from your CSV file:
- First name: 75 characters max
- Last name: 75 characters max
- Email* (mandatory): 100 characters max
- Job title: 75 characters max
- Company name: 75 characters max
- Project role:
- The Project role field supports the following values: Admin, Editor, Reader or Reviewer. If the Project role field is left blank, the default role of Reviewer will be assigned during the mapping process.
Follow the steps below to add users to a project by uploading a CSV file:
- Click on the Import button at the top right of the Teams and Users window. The Import users: Upload file window opens.

- Click on Browse and select the desired CSV file with the users you want to add.
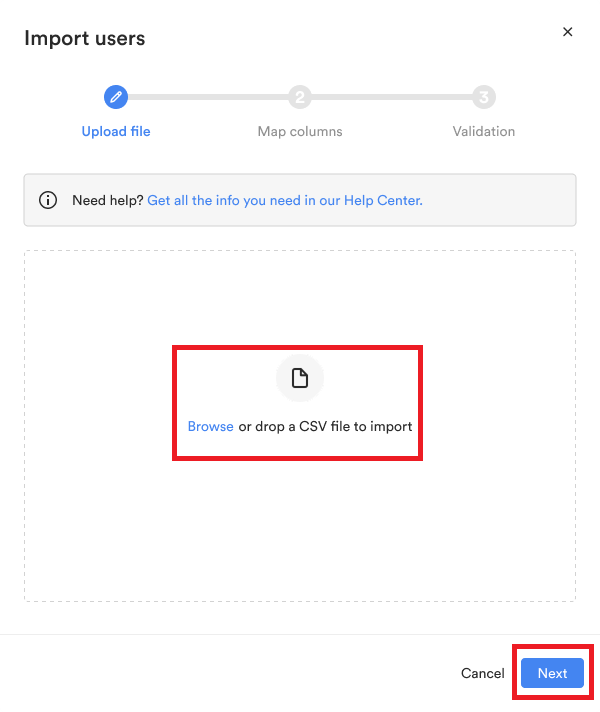
- Click Next at the bottom of the Import Users window. The Import users: Map columns window opens.
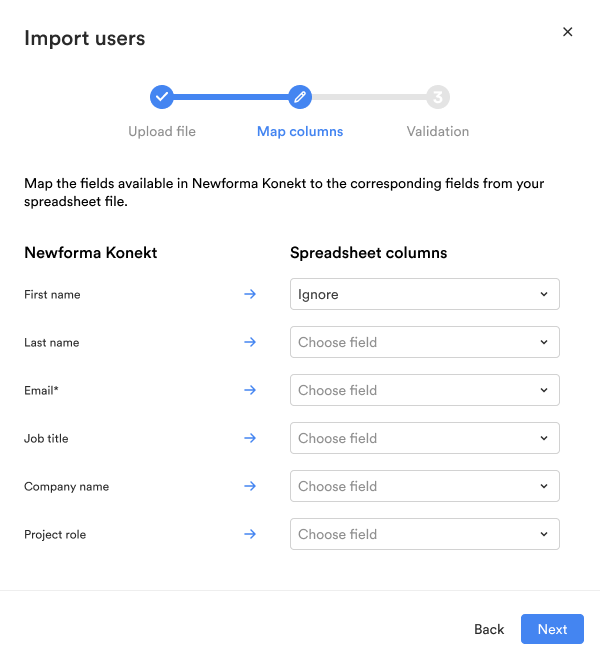
- Map a spreadsheet column to an existing Newforma Konekt field by clicking on the Spreadsheet columns dropdown menu (containing the titles from your CSV columns) and selecting the CSV column you want to map to the field on the left. Repeat this step for all Spreadsheet columns dropdown menus. Note that any fully empty rows in your CSV file will be skipped.
- Make sure to fill out / map out the mandatory fields; the Email field is mandatory.
- The Project role can only be filled out with the following values: Admin, Editor, Reader or Reviewer. If the Project role field is left blank, the Reviewer role will be assigned by default. For more information on project roles, please refer to this article.
- If you do not wish to map other fields to the Newforma Konekt fields, you can leave the space blank or select the Ignore option in the dropdown.
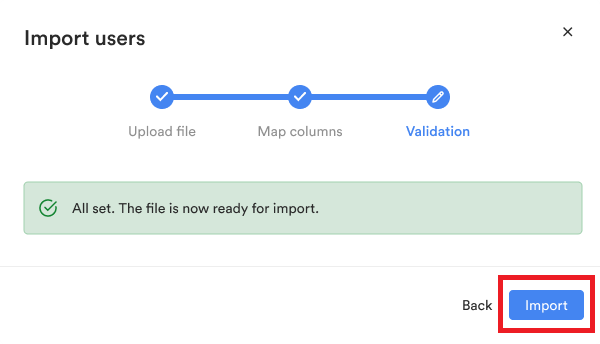
- Once all of your desired fields are mapped, click Next at the bottom of the Import users: Map columns window. The Import users: Validation window opens.
- Review your selection and once you are content that the CSV file selected and mapped is correct, click on the Import button at the bottom right of the Import user: Validation window.
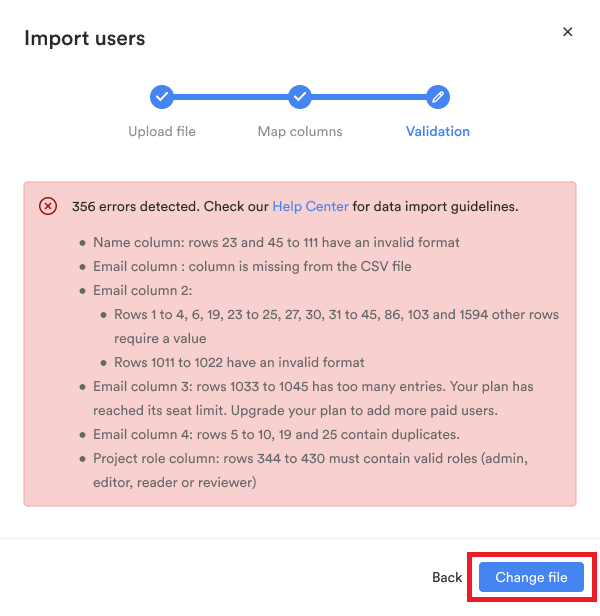
- If the Import User: Validation window shows a list of errors in the CSV file you uploaded, make the corrections in the CSV file, save, and click Change file in the Import User: Validation window to re-upload the corrected CSV file. Your previous column mapping will be saved so that you do not need to repeat this step again if you do not want to.
Additional error troubleshooting
The following error types can be found in the CSV file and will prevent you from importing your file:
- Some rows exceed the allowed character limit.
- Some rows are missing the user’s email.
- Multiple rows within your CSV file have the same email address.
- Some rows contain an email with an invalid format (ex: email instead of email@newforma.com).
- Some rows do not contain a valid project role (admin or editor or reader or reviewer or field left empty).
If a same user’s email address is found between the CSV file and the Newforma Konekt hub:
- User information from your CSV file will not override existing user information in Newforma Konekt, except for the project role. Which means, if the user already exists in the project but has a different project role than the one they are assigned to in the CSV file, their project role will be updated to reflect the project role that was in the CSV file.
- The user will be added to a project if they aren’t already (with the user’s information coming from Newforma Konekt). This will apply if we find a user’s email from the CSV file is found in the Newforma Konekt hub, but not in the project where the import is taking place.
Automatic addition of users to the Hub
When the Add users to a hub from a project toggle is activated in Hub settings, adding new users (both manually and by importing a CSV file) to a project in Teams and Users automatically also adds them to the Hub as a guest. See the Hub management overview article for more information.
Users can see the Guest status for a particular user in the User management page.
Important notes on permissions:
- Hub Admins: Hub Admins have the access permissions to activate the toggle on the Hub settings page.
- Hub Admins: Regardless of whether the toggle is activated in Hub settings, Hub Admins regardless of their role at the project level can create new Hub users automatically by adding them to a project from the Teams and users page.
- Project Admins: Only once the toggle is activated in Hub settings, Project Admins, regardless of their role at the hub level, can create new Hub users automatically by adding them to a project from the Teams and users page.
See the Best Practices for Organizing Your Newforma Konekt Hub article for more information.
Users: Remove users from a project
Remove users from a project by following the steps below:
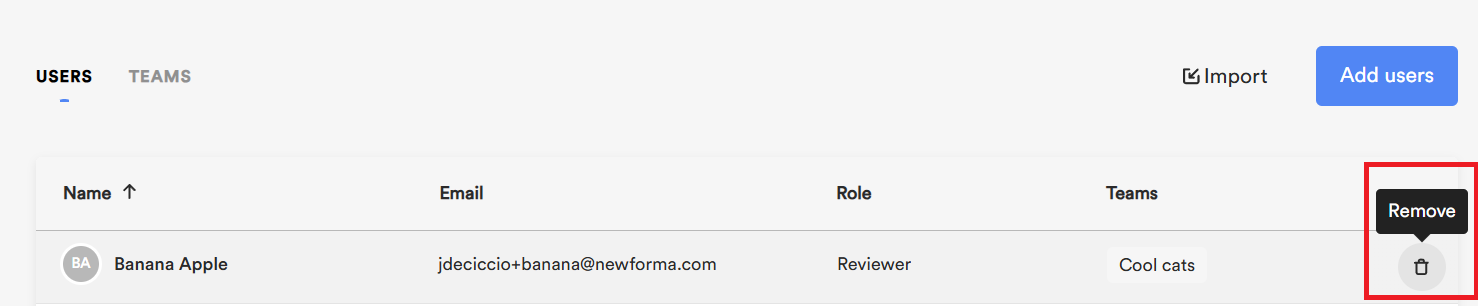
- Hover over the desired user in the USERS tab and click on the trash bin icon on the right side. The Remove user from project page will open.
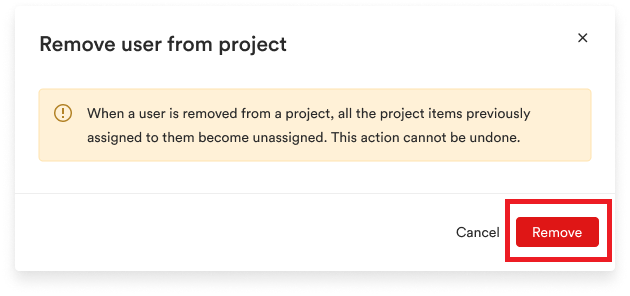
- Confirm the deletion by clicking on the Remove button. Note: Project creators cannot be removed from projects.
Teams: View a team’s members
Follow the steps below to view the members on a team:
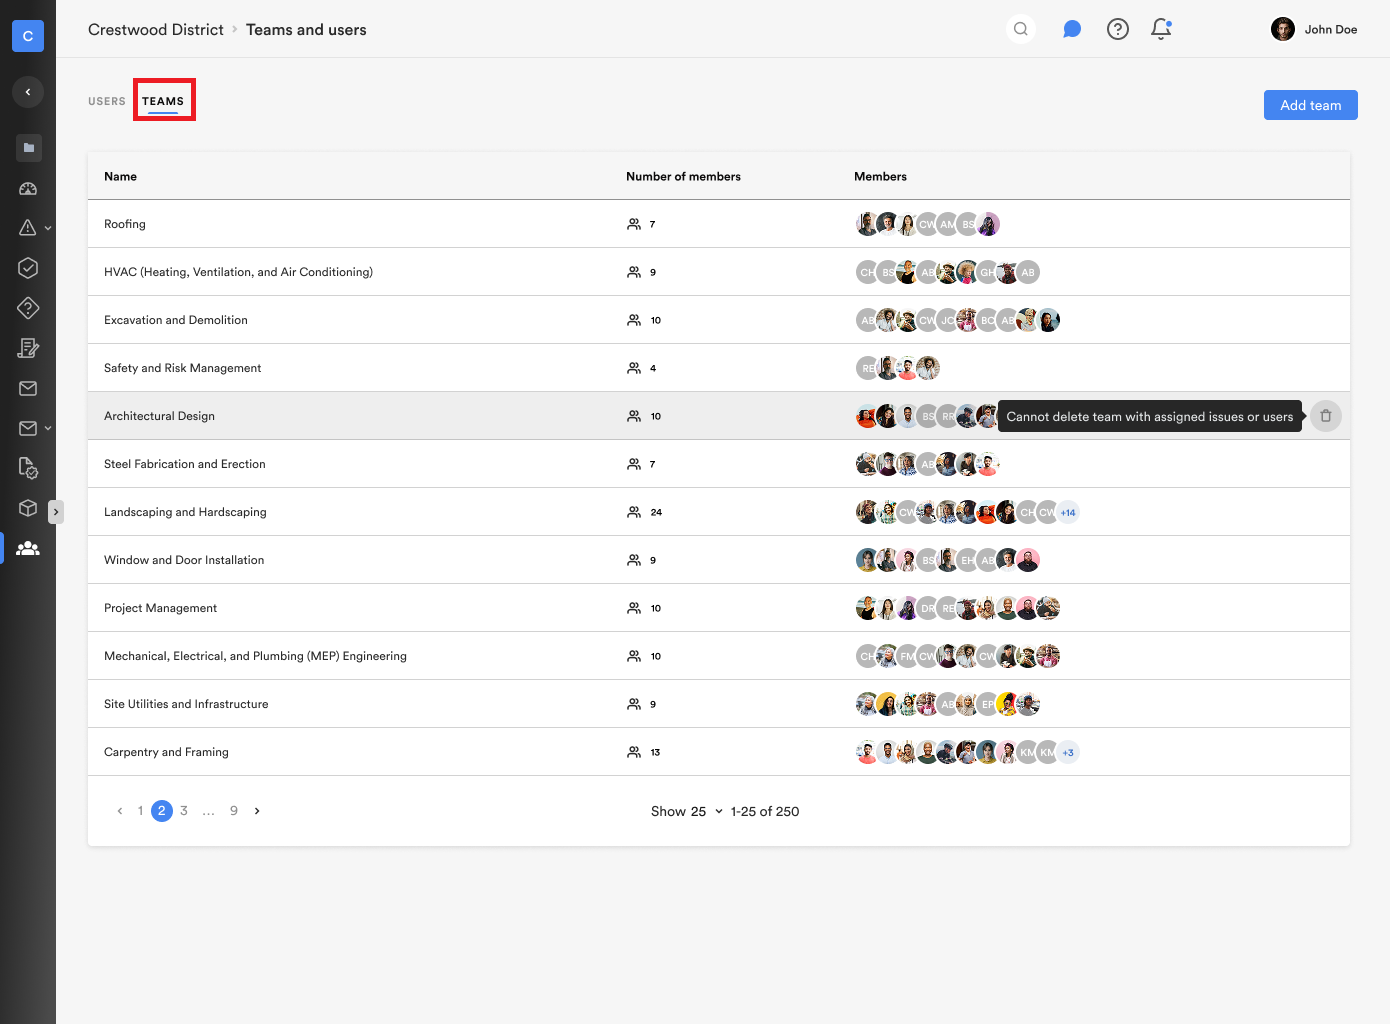
- Click on the Teams tab at the top of the Teams and Users page to view the list of users of a project.
- Notice the following information displayed for each team:
- Name
- Number of members
- Members
- Sort the teams by name, number of members or members by clicking on the column’s title.
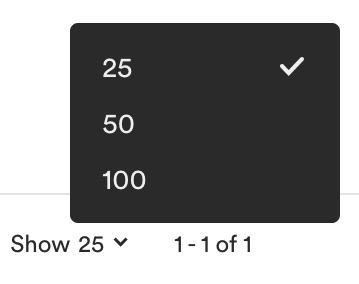
- Control the number of teams displayed per page, and navigate from one page to the next by clicking on the desired selection at the bottom of the USERS tab.
Teams: Add/Remove teams
Follow to the steps below to add teams to the Teams list:
- Click on the Teams tab at the top of the Teams and Users page.

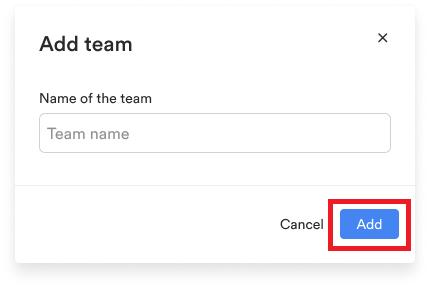
- Click on the Add team button at the top right of the page. The Add team page will open.
- Enter the name of the team you want to add in the Name of the team* field, and click the Add button. Your new team will appear in the TEAMS list.
Follow the steps below to remove a team form the Teams list:
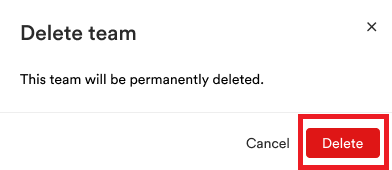
- Hover over the desired team and click the trash bin icon on the right side. the Delete team window will open.

- Confirm the deletion by clicking on the Delete button.
Note that it is not possible to delete teams with assigned issues or users.
Teams: Rename a team
It is possible to rename a team by clicking on the team\’s name.

Teams: Add/Remove users in a team
Follow the steps below to add or remove users in a team:
- Click on the Teams tab at the top of the Teams and Users page to view the list of users of a project. the Teams page will open.
- Click on the team members in the Members column to open the multi select box.
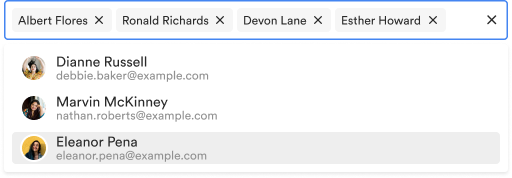
- To delete a team member, click on the X on the right side of a name in the multi select field.
- To add a team member, start typing a name in the multi-select field, then select the name of the desired team member from the dropdown.